
Top tips for successful welding in hygienic wall cladding
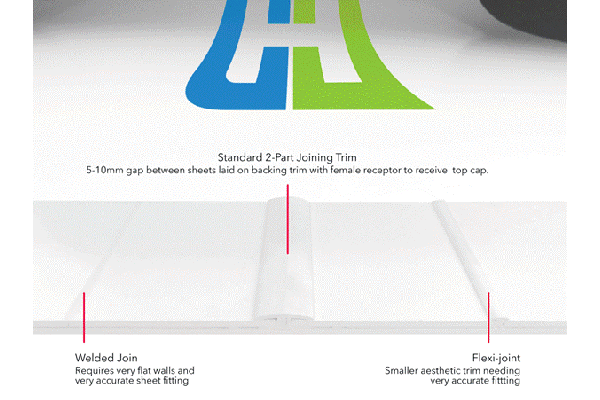
Achieving a clean and durable weld is essential when installing hygienic wall cladding. It ensures a watertight finish and, importantly, it maintains the integrity and appearance of the installation. But welding isn’t easy. So we’ve put together some key tips to help ensure you’ll get consistently high-quality results.
1. Check wall tolerances before welding
Welding will only be successful if the substrate is suitable. Do not attempt to weld if the walls vary by more than ±3mm over a 2-metre span. Excessive deviation will prevent the weld from bonding correctly and can lead to failure over time.
2. Prepare the join correctly
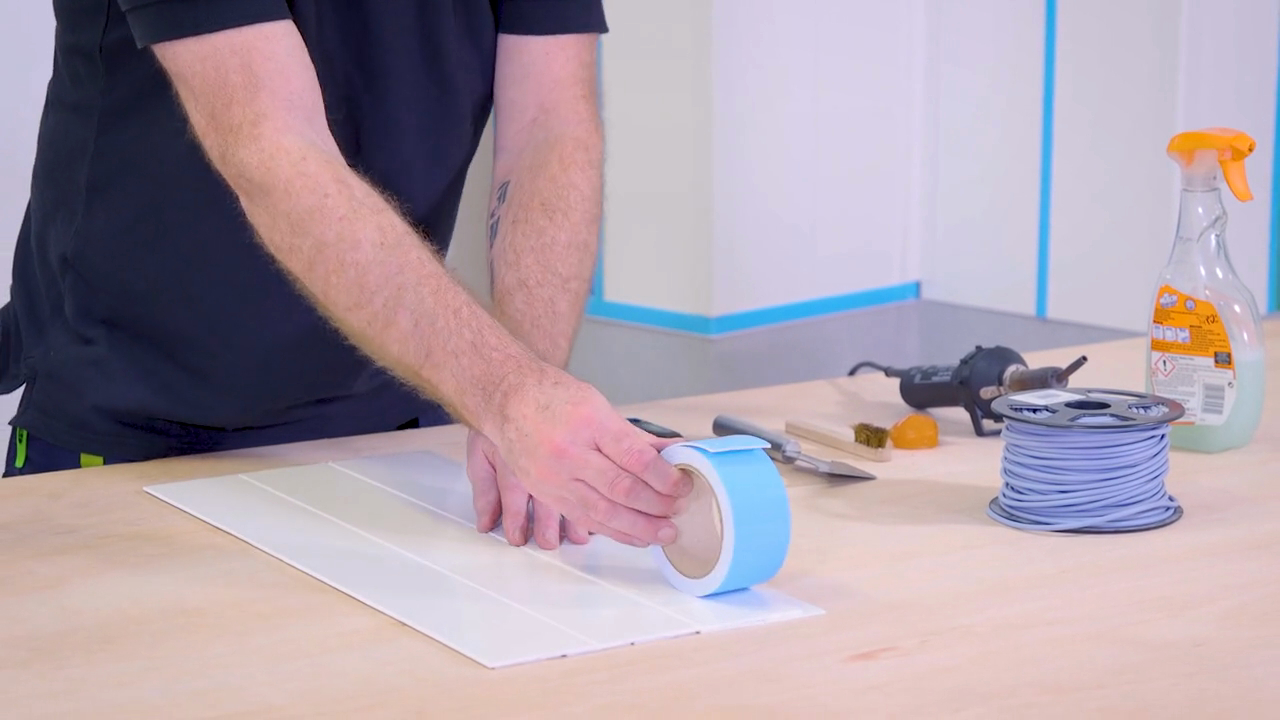
As we’ve said before, preparation is everything when it comes to hygienic wall cladding. When fitting the sheets, we recommend you use Altro double-sided tape where the sheets join to help stabilise the weld and remove any remaining minor deviation.
Always leave a 2mm gap between sheets. This gap is important to allow the weld rod to fully penetrate and bond correctly. If the sheets are butted up too tightly together, the weld cannot sit properly; too wide, and the finish may be compromised.
2. Use the right nozzle
There are two main types of welding nozzles:
- A standard nozzle
- An anti-glaze nozzle
We recommend using an anti-glaze nozzle because it helps prevent the weld rod from glazing over (or scorching) during the heating process. You’ll achieve a stronger bond and a more consistent finish.
3. Colour match your weld
A good weld is when the weld is almost indistinguishable from the sheet. Nearly all sheets have colour matched welds available for the perfect aesthetic finish.
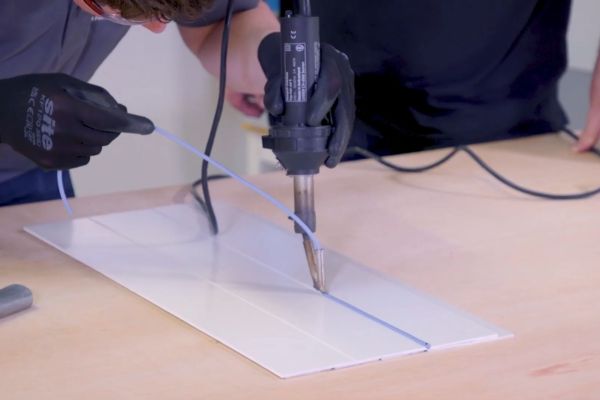
(In the video below, we’ve used blue weld against a white sheet only to provide a clearer demonstration).
4. Cut and heat properly
Before welding, cut a 45-degree angle at the top of each weld rod. This helps the rod heat up quicker and bond to the sheet faster, creating a smoother start and a stronger join.
As you weld, look for the “wake” in the weld, like the wake in water. It’s a slight ripple effect behind the nozzle. This is a visual indicator that the weld is bonding correctly with the sheet. If you can see the wake, you know you’re doing alright!
5. Trim for a smooth finish
When trimming the weld, we recommend using a Mozart tool, and complete the process in two swipes. The first swipe removes the bulk of the excess weld whilst it is cooling, and the second swipe, after the weld settles and is cold, achieves a smooth, flush finish against the sheet.
To avoid scratching the cladding during trimming it’s advisable to:
- Apply a light mist of anti-static spray along the join
- Rub a small amount of candle wax on the Mozart blade
These simple steps will reduce friction and help protect the sheet surface.
In conclusion
Successful welding in hygienic cladding is about preparation, precision, and attention to detail. By following these best practices, installers can achieve strong, seamless joints that maintain both hygiene standards and aesthetic quality for years to come.
If you’d like further advice on how to weld or with any other aspect of hygienic wall cladding, please get in touch with our team who will be happy to help.
Watch it in action
In this video below, our experienced fitter, Dave Ford, and technical expert from Altro, Roger Moore, take you through the entire process from start to finish. You’ll see how to apply the theory above and complete a successful weld in action.